
Configuring Web Tracking Touch Points
If you would like to identify your B2B website visitors, Touch Points can be combined with Web Visitor Tracking tools such as Lead Forensics and OnMonitoring. Using IP Tracking, both solutions integrate with Gold-Vision, allowing you to score visits using Touch Points. For more information, and to register for a trial with either provider, visit the Web Visitor Tracking page. If you would prefer us to initially register your interest with Lead Forensics and/or OnMonitoring on your behalf initially, please let us know.
Click New Rule
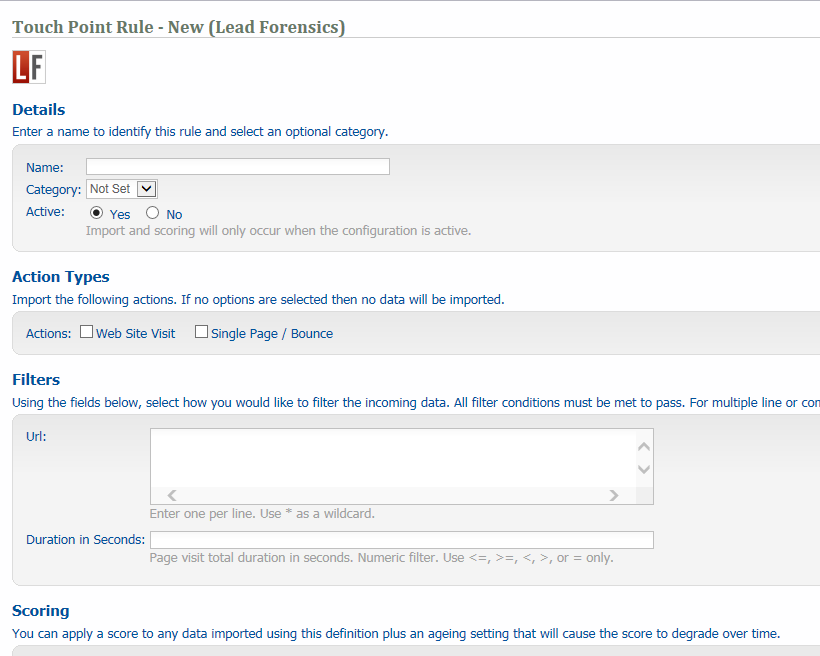
Name – eg Pricing Page
Category – eg Web Touch Point
Action – You can choose more than one action here – ‘Web Site Visit’ will capture website visits of one or more pages. ‘Single Page / Bounce’ will capture website visits of only one page. It is likely that you choose either ‘web visit’ or both action types. Single page/bounces only track 1 page website visits so you may want to exclude these.
Filters – Here you type in the URL of the page(s) that you would like to track. You can add multiple URLs or use the * button for wildcards. For example, *pricing, would track all visits to any URL with ‘pricing’ in it. You may also want to fill out the duration of the page visit. For example, if you only wanted to track visits to a page of more than 15 seconds you would enter ‘>0.25’. This can be left blank if you want to track all visits to the page, irrelevant of how long they spend on the page. In the above example no page times were specified so this will stay blank.
Scoring – Here you enter the score for the Touch Point rule. Touch Point scores can be degraded, so that they gradually move down to zero. You can choose how to degrade the score. For example, you might want an initial score of 50 but you want this score to degrade by 10 every 7 days. You can also choose to set the score to zero after a certain period of time. For example, you might want an initial score of 100 but you want this to revert back to zero after 30 days.
There may be instances where you want to assign a negative score – this is possible by inputting a negative figure.
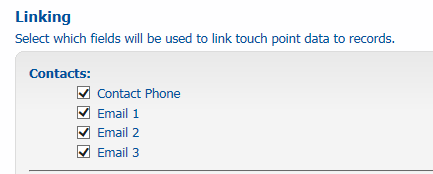
Linking – When a Touch Point is imported Gold-Vision will try to match the data against Contacts, Accounts and Leads. Here you can choose which fields to match against. It is recommended that you keep all of these ticked.
Lead Import – You can automatically create Leads from Touch Points. To do this you must tick the Lead Import box. If the Touch Point is not matched to a Gold-Vision record then it will automatically create a Lead in a list of your choice. In this example we want to create a Lead so this box is ticked.

Once you have filled out the form click ‘save’ and you will be routed back to the Touch Point configuration page. Here you will see the new rule sitting under the Import Source (Lead Forensics in this example).
Note: when setting up your Web Tracking rules we recommend a 'catch all' rule - with no URL and no score to check that the data is imported correctly from Lead Forensics or On Monitoring.