Introduction
Gold-Vision can generate Word documents from almost any item by using predefined
Word Templates (.dot) files. Templates are also used when running letter-based
mail campaigns.The template file may contain Gold-Vision “tags”, which are substituted with the corresponding item data when this feature is initiated – for example name and address.
Gold-Vision Templates Folder
Gold-Vision templates are usually stored in the Templates sub folder of the program install folder. This folder should be shared to all users as GVTemplates to allow Gold-Vision access to the Word Template files. The templates folder has sub-folders divided by type of template and item type. See your Gold-Vision Administrator for more information.
Creating Templates - Standard Mode
Template Tags All template tags take the form of a keyword(s) within two chevrons < >. When Gold-Vision uses a template to create a document it will replace these tags with the corresponding data.
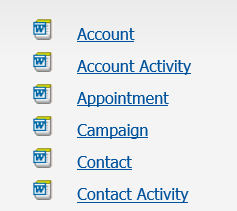
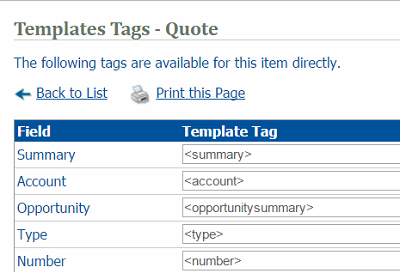
This screen allows you to view the list of current template tags for the main Gold-Vision objects - open as a document to cut and paste required items if you choose.
There are example templates available in your Templates folder, (see Template Settings in your Admin Console) we would recommend using these and editing them to meet your requirements. Headers, footers, images, text and tags can be added.
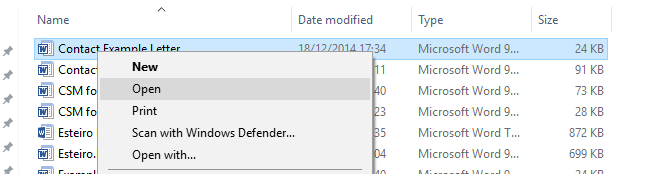
Browse to your Template location, select the relevant folder, then select the example Template, right click and select Open. Note - Account and Contact templates are in the Letter folder.

Amend the Template and select File - Save As.
For example: <account> would display the Account Name.
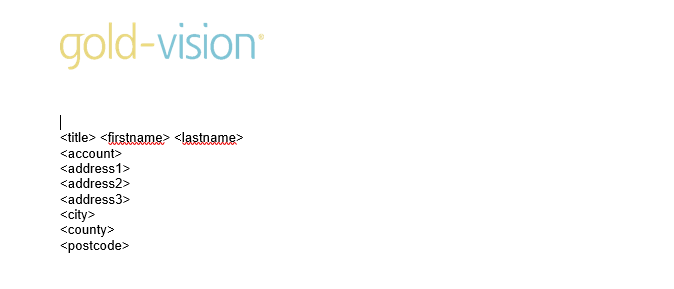
For example, this template text

could be used to create the following

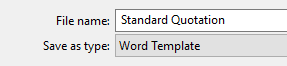
If you do not want to use our example templates, then create your template and select File - Save As - and select type Word Template BEFORE selecting the Location. (You might need to save locally on your desktop and ask your administrator to upload the template if you don’t have the correct access rights.)
Standard Paragraphs - Standard Mode
A Paragraph is a large block of customisable text which can be used within templates when generating documents from Gold-Vision, for example Payment Terms.
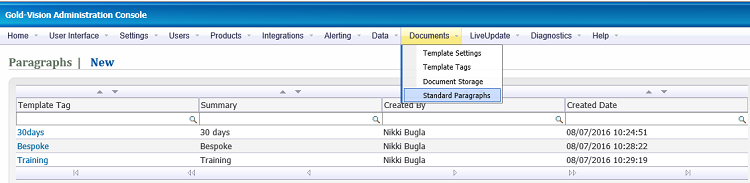
Step 1 Create new paragraphs from the Documents menu:
Step 2 Once created they can be added to the screen in the screen designer by selecting Drop Paragraph:
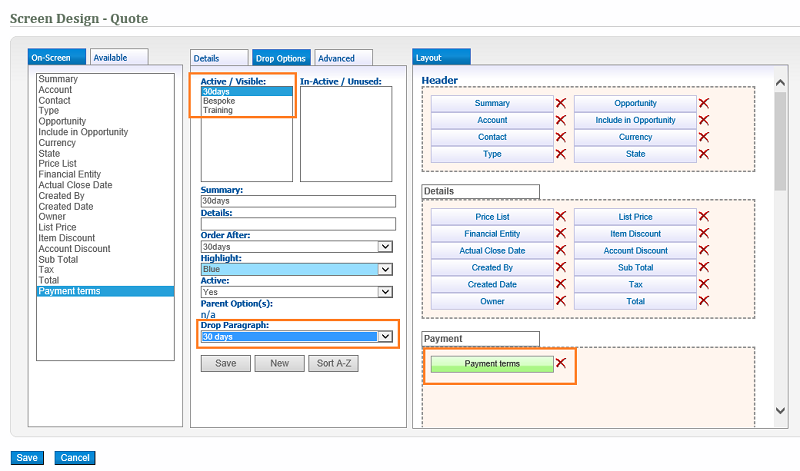
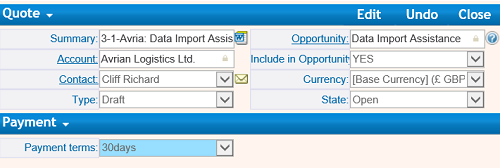
In this example quote ‘30days’ has been selected:
Step 3 Add the code to your Template in the usual way but prefix with P:
For example, to add the payment terms paragraph:
Payment Terms: <P:OPQ_UD1_ID>
(where OPQ_UD1_ID is the field name for field called Payment terms)
When the template is created is would show the following text:
Payment Terms: Full payment is due 30 days from invoice date. We reserve the right to invoice for work completed to date in the case of unreasonable project delays on your part. All prices quoted exclude VAT or local sales tax, where applicable.
Images can be added to your template. For example the Gold-Vision logo has been added to the header of this template.
Quote Template Tips
Create a one cell table for the address lines - this ensure that any missing lines (eg Address Line 3) do not display as a blank lines.
When creating a Quote template you need to ensure that the table with the products in is the last table.
Add a line break if you have additional information on page 2.

If your table is likely to go on to two pages you might like to repeat the header row:
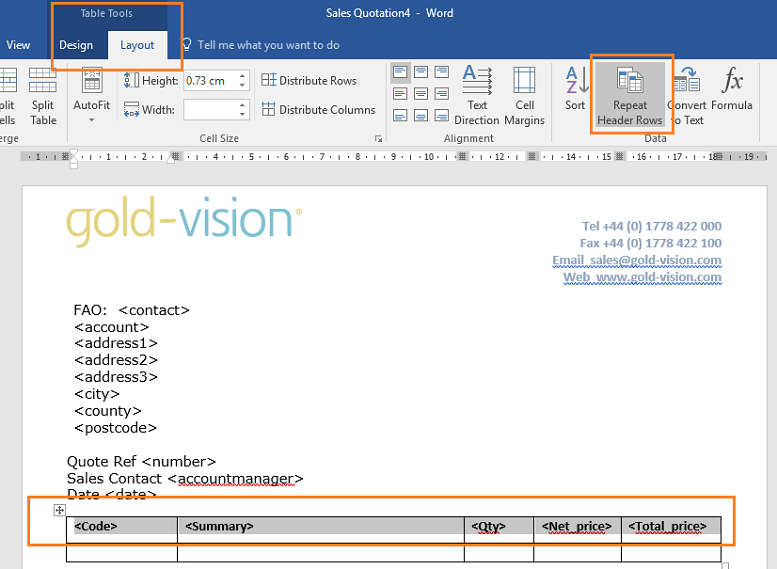
If you would like to include product images in quotes you will need to use Advanced Mode Templates.