To download the Outlook Add-In, go to http://www.gold-vision.com/office/2013/setup.exe
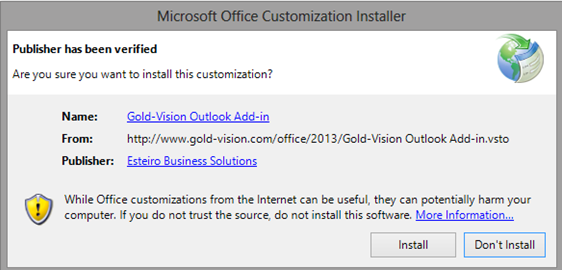
You can then Save and Run or just Open the installation program.
When prompted by the Installation program click the Install button.

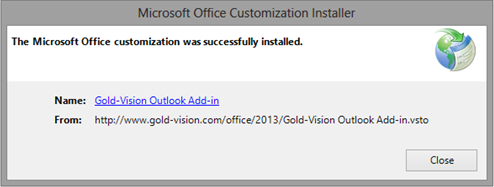
This will download and install the Add-In, returning the following message once complete.

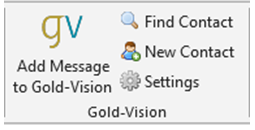
When you next start Outlook, you will see an additional Gold-Vision tab in the ribbon (right-hand side)

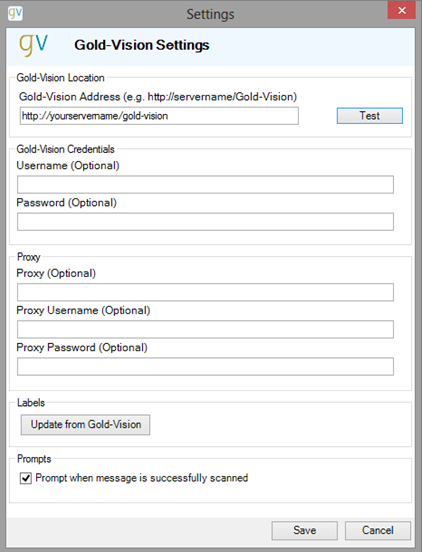
Click the Settings button.
• Enter the web address you use for accessing Gold-Vision.
• You can also test the connection from this screen.
• If you use a Gold-Vision server on your domain, you should not need to specify credentials, but if you are using a hosted Gold-Vision setup or your connection to Gold-Vision is through and external address, you may need to specify your logon details (including domain name).
• The proxy settings allow you to set a proxy address if needed to connect to the Gold-Vision server.
• If you have changed the Global Names of objects on your system, you can use the Update Labels from Gold-Vision button to bring these details back through to the Add-In.
• You can also select whether you are prompted an email is successfully linked from Outlook via the Add-In.

Once correctly configured, the button on the Add-In in the ribbon will be unlocked.

The Gold-Vision Add-In tab is available on both the main Outlook ribbon (when looking at Emails or Contacts/People) and within individual email messages.
To add a message Gold-Vision, select it within the Inbox (or other folder) or open the item, then click Add Message to Gold-Vision.